
 PCB Assembly
 Layer Buildup
 Online Tools
 PCB Design-Aid & Layout
 Mechanics
 SMD-Stencils
 Quality
 Drills & Throughplating
 Factory & Certificate
 PCB Assembly Factory Show
Certificate
PCB Assembly Factory Show
Certificate
Support Team
Feedback:
support@nextpcb.comAt NextPCB, we're proud to support innovative makers like Joe Scotto, a mechanical keyboard enthusiast and engineer who shares his passion through hands-on DIY projects. His latest tutorial, "Designing Mechanical Keyboard PCBs with KiCad," is a fantastic resource for anyone looking to build a custom keyboard from scratch. Thanks to his detailed guidance and exclusive KiCad library, even beginners can dive into PCB design with confidence.
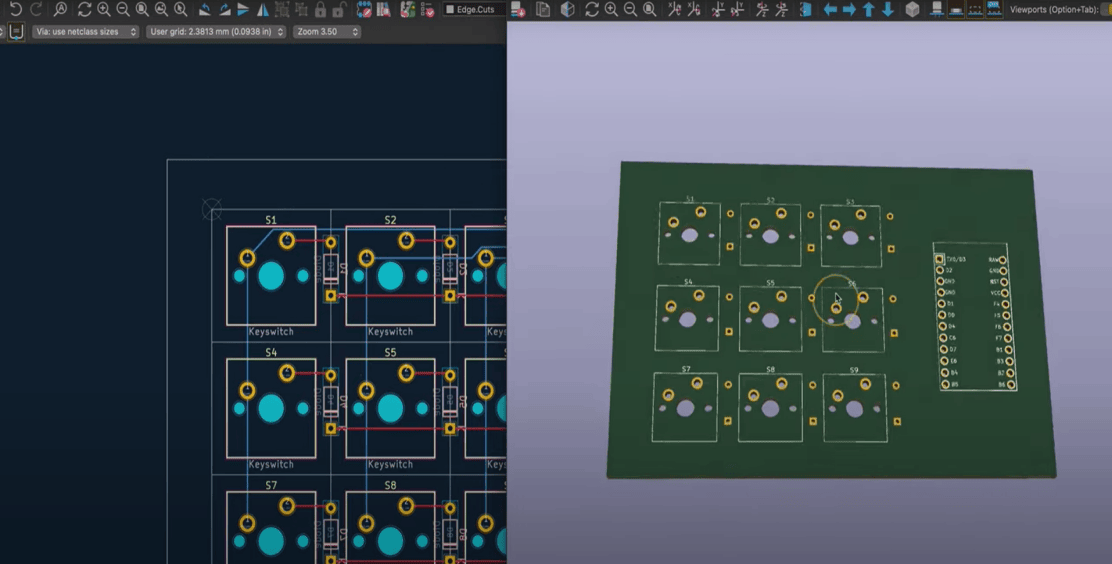
Joe's tutorial focuses on creating a 3×3 macro pad—a compact yet functional keyboard that teaches core concepts like:
This project is perfect for learning PCB design fundamentals before tackling larger keyboards.
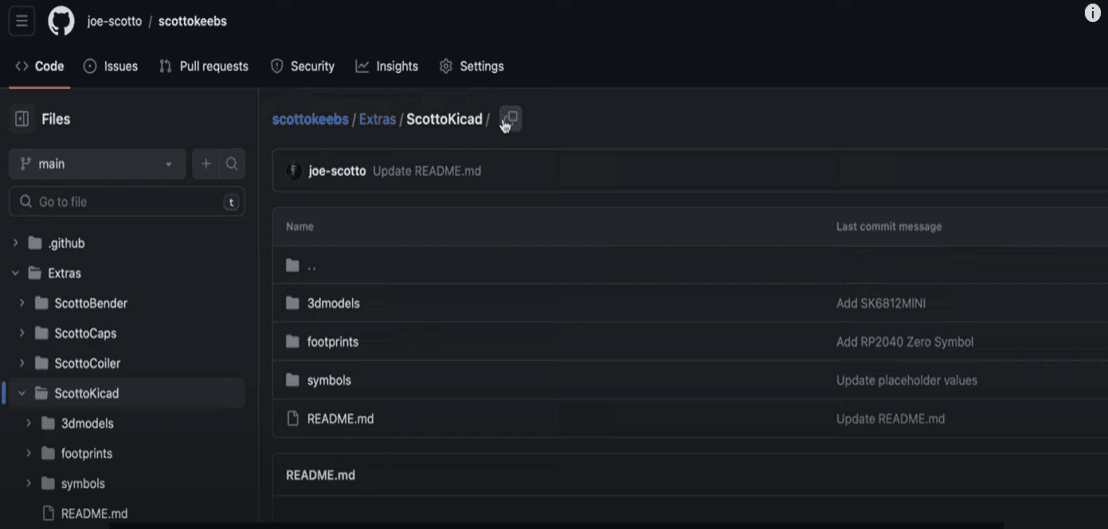
Joe provides a dedicated KiCad library with pre-made symbols and footprints for switches, diodes, and controllers, speeding up the design process1.
A Gerber export plugin simplifies file generation for manufacturing.
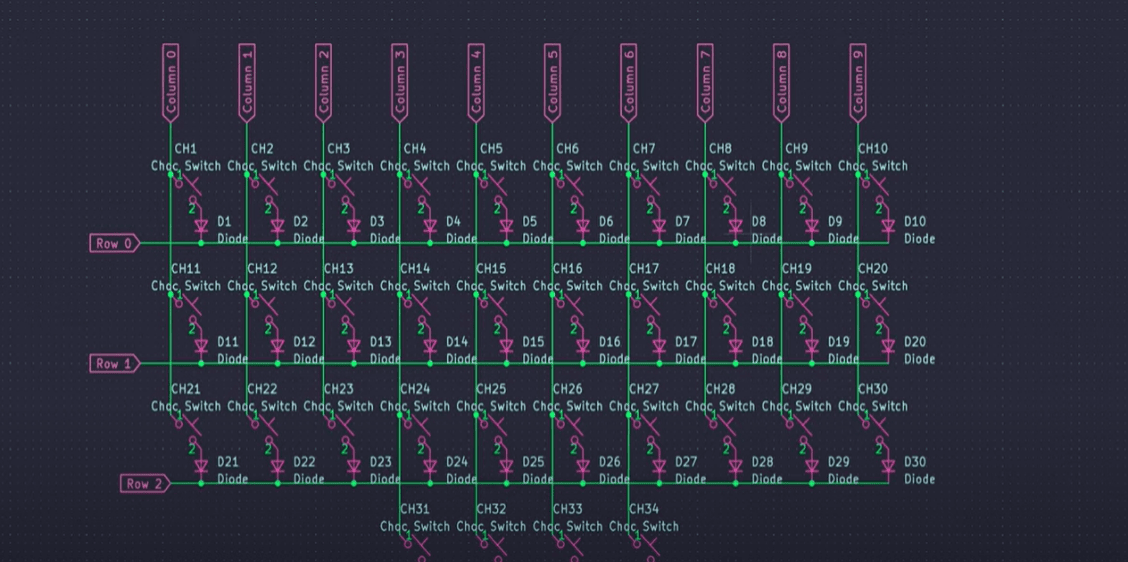
The keyboard matrix is built with switches and diodes (to prevent ghosting).
Global labels keep wiring clean and organized.
For a visual walkthrough, check out Joe's YouTube tutorial. Whether you're building a macro pad or a full-sized keyboard, this guide is your gateway to custom keyboard design! You can find the ScottoKicad library here. Follow Joe Scotto's work at scottokeebs.com and explore more keyboard projects!
Ready to start your project? Upload your Gerber files to NextPCB for reliable, high-quality fabrication. Share your builds with us—we'd love to see what you create!
Still, need help? Contact Us: support@nextpcb.com
Need a PCB or PCBA quote? Quote now
|
Dimensions: (mm) |
|
|
Quantity: (pcs) |
|
|
Layers: 2 |
Thickness: 1.6 mm |
|
|
|

 Printed Circuit Boards
 Surface

