Support Team
Feedback:
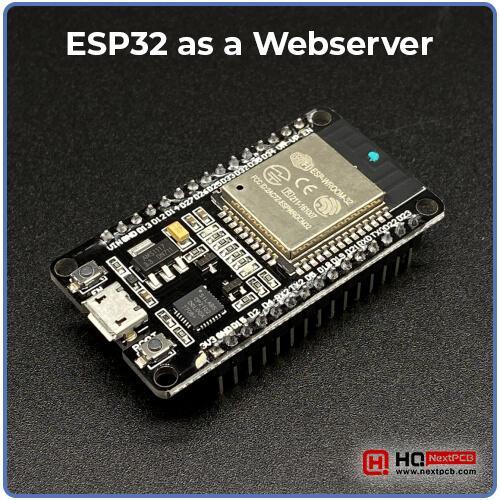
support@nextpcb.comHey, I hope you are doing great. I hope the journey with the ESP32 is going well. In the last lecture, we saw the ESP32 Bluetooth low energy (BLE) example in the Arduino IDE. Today, we are moving towards the use of ESP32 as a web server. This microcontroller has versatile features, making it one of the best experts' choices. One of its applications is using it as a web server. The ESP family is known for its energy consumption and, therefore, is a perfect choice to connect different clients together.
The BLE was used to connect the devices near each other but the ESP32 can connect a relatively large network together. In this tutorial, you will see how to use the ESP32 to connect the devices on a large scale. It has a specific IP address that will allow it to create a large network over the internet. We will use the local internet connection of the user and create a network of devices to be controlled with the help of ESP32. We will start with the basic information and understand the features in detail. After that, the practical implementation of the application will be shown to you. For now, we are using the most basic example but this can be extended to different devices and for the creation of a large network. Let’s start learning together.
The internet deals with a tremendous number of websites and web pages. The information on the websites is saved and handled by a web server. Hence, the web server’s basic role is to handle (server) the web pages of the website. Here, it must be clear that a web page can be a simple HTML file or a complex combination of different resources. It may be defined as:
“A web server is the piece of software or hardware that works on the user’s request and can store, process, or deliver the pages demanded by the users.”
The internet we use to get pages and information uses web servers to get the information all around the world wide web (www). There are different types of terms that we will use in this tutorial, so let’s find out the basic introduction of these terms:
The Internet is a large and complex network of websites all around the world. The web servers work with the help of the internet to fetch information from web pages. The users have to connect to the internet to access the information from the web server and websites.
The communication between the server and pages is done using different types of protocols and one of these is the hypertext transfer protocol (HTTP). It is used between the web server and web browser and is responsible for different functions, such as:
In short, the HTPP decides the workings and responses of the web server to the pages.
The web servers use the client-server architecture to perform their duties. The web server has the information stored in it. The component of the network that asks for the information from the server is called the client. Hence, the client requests the information (any web page) from the server and the server sends the information. This way of working is called client-server architecture.
The web servers use file transfer protocols to allow users to download the information from the page. There are different types of protocols for this but usually, HTTP or FTP (file transfer protocol) are used with the web servers.
The ESP32 is one of the most popular microcontrollers that has an impact on the trends in the market. The ESP32 has multiple features to do so but one of the most important among these is that it can be used as a server. The users can save their files in ESP32 and the client can fetch this information. This is one of the ways to use the ESP32 for wireless communication. Features like a web server and BLE make the ESP32 a perfect choice for applications like Internet of Things (IoT) projects. The information in the ESP32 can be accessed by different devices connected to it. In this way, it acts as the heart of the network of devices.
There are different characteristics of ESP32 that make it the best choice to use as a web server. Here are some of these:
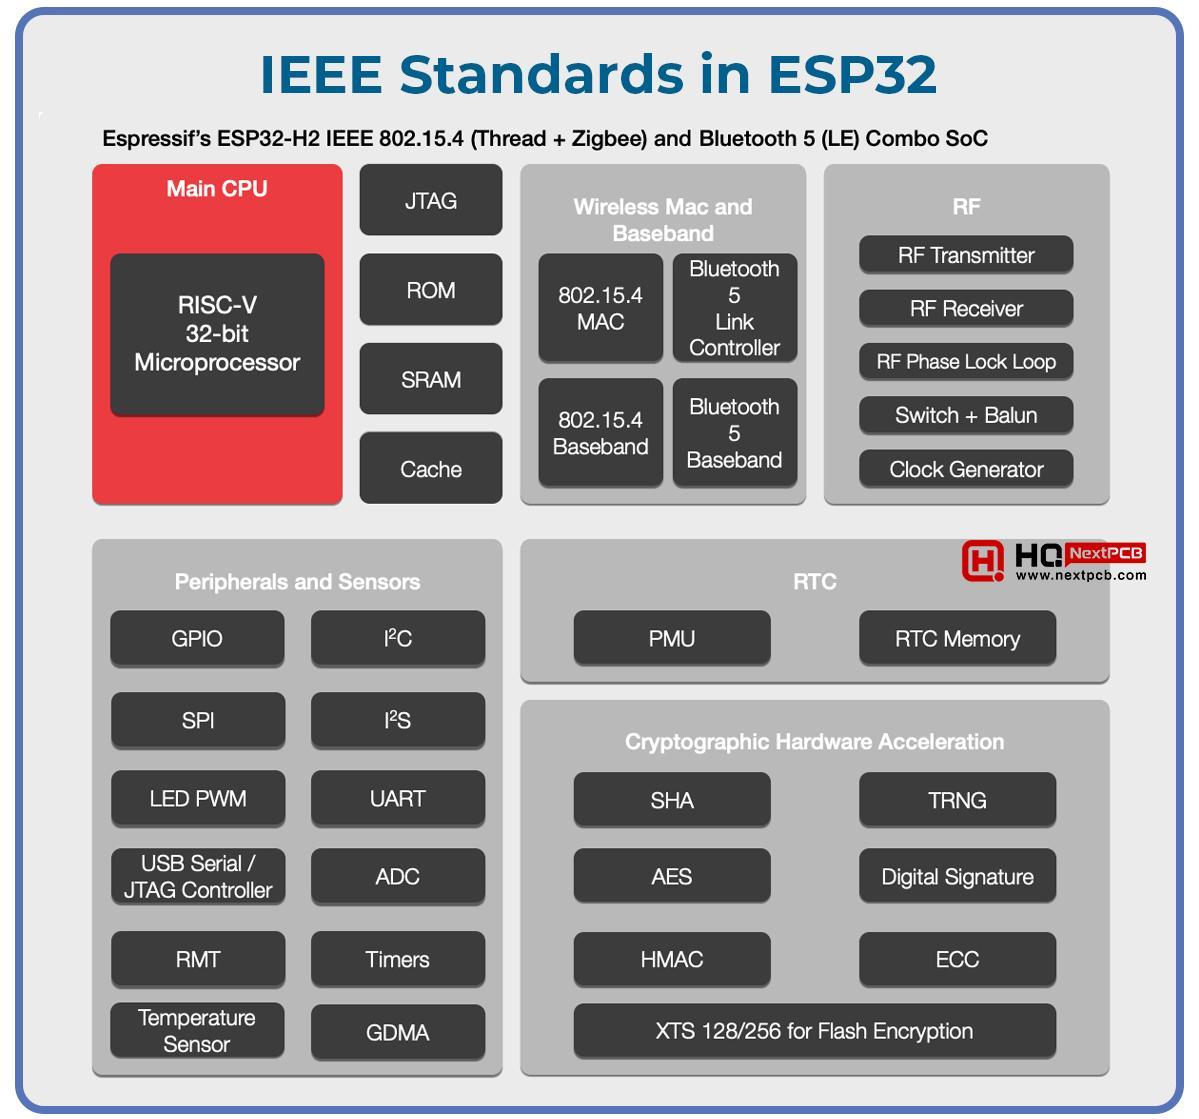
Most of the devices used to connect through microcontrollers are made to IEEE standards. Therefore, ESP32 is designed to meet these standards. Some of the important points in this regard are:
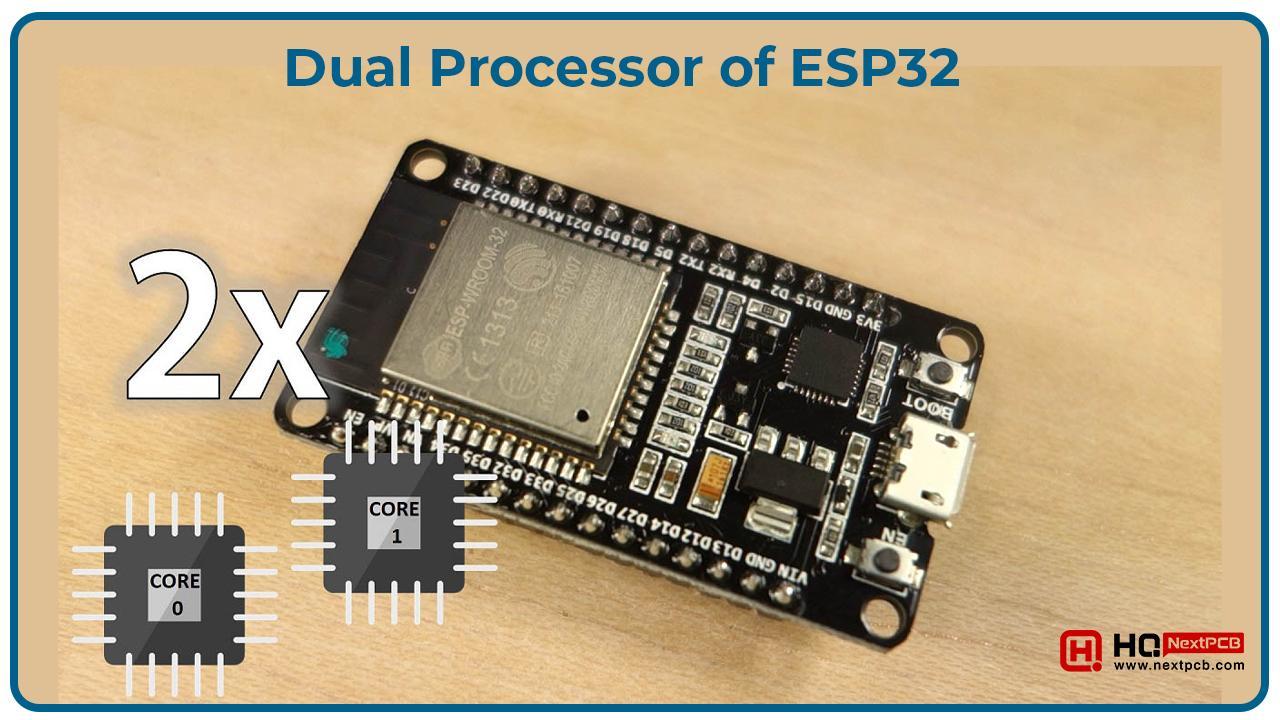
The ESP32 has a dual processor, which helps it perform better as compared to a single-processor webserver. This feature makes it ideal for projects like IoT and other networks where a large number of devices are connected together and the ESP32 has to listen to all the incoming requests simultaneously. Following are some reasons to justify this:
The ESP32 has multiple libraries that help it perform better as a server. These have the functionality and tools to optimize performance and provide additional features. Here are some basic and important libraries for ESP32:
Other features of the ESP32, such as web sockets, WiFi direct, security protocols, etc., make it a great choice to use as a server.
Free Components Worldwide Shipping
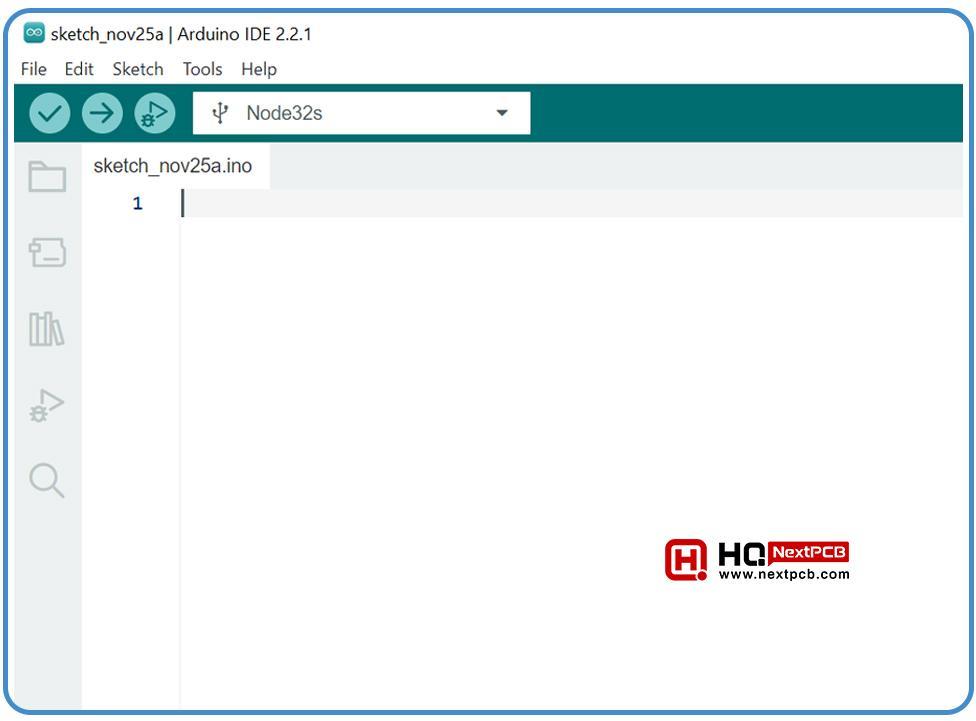
There are multiple ways to use the ESP32 as a server but one of the most common is to use the Arduino IDE. It is beginner-friendly software designed for Arduino boards but is extensively used for ESP32 boards. A large community is using the Arduino IDE for this task because it has the best compatibility, esp32 board support, a large community, is easy to use and understand, and has some other features that help the user get the result with little effort. Here is a project where we are using the ESP32 as a server.
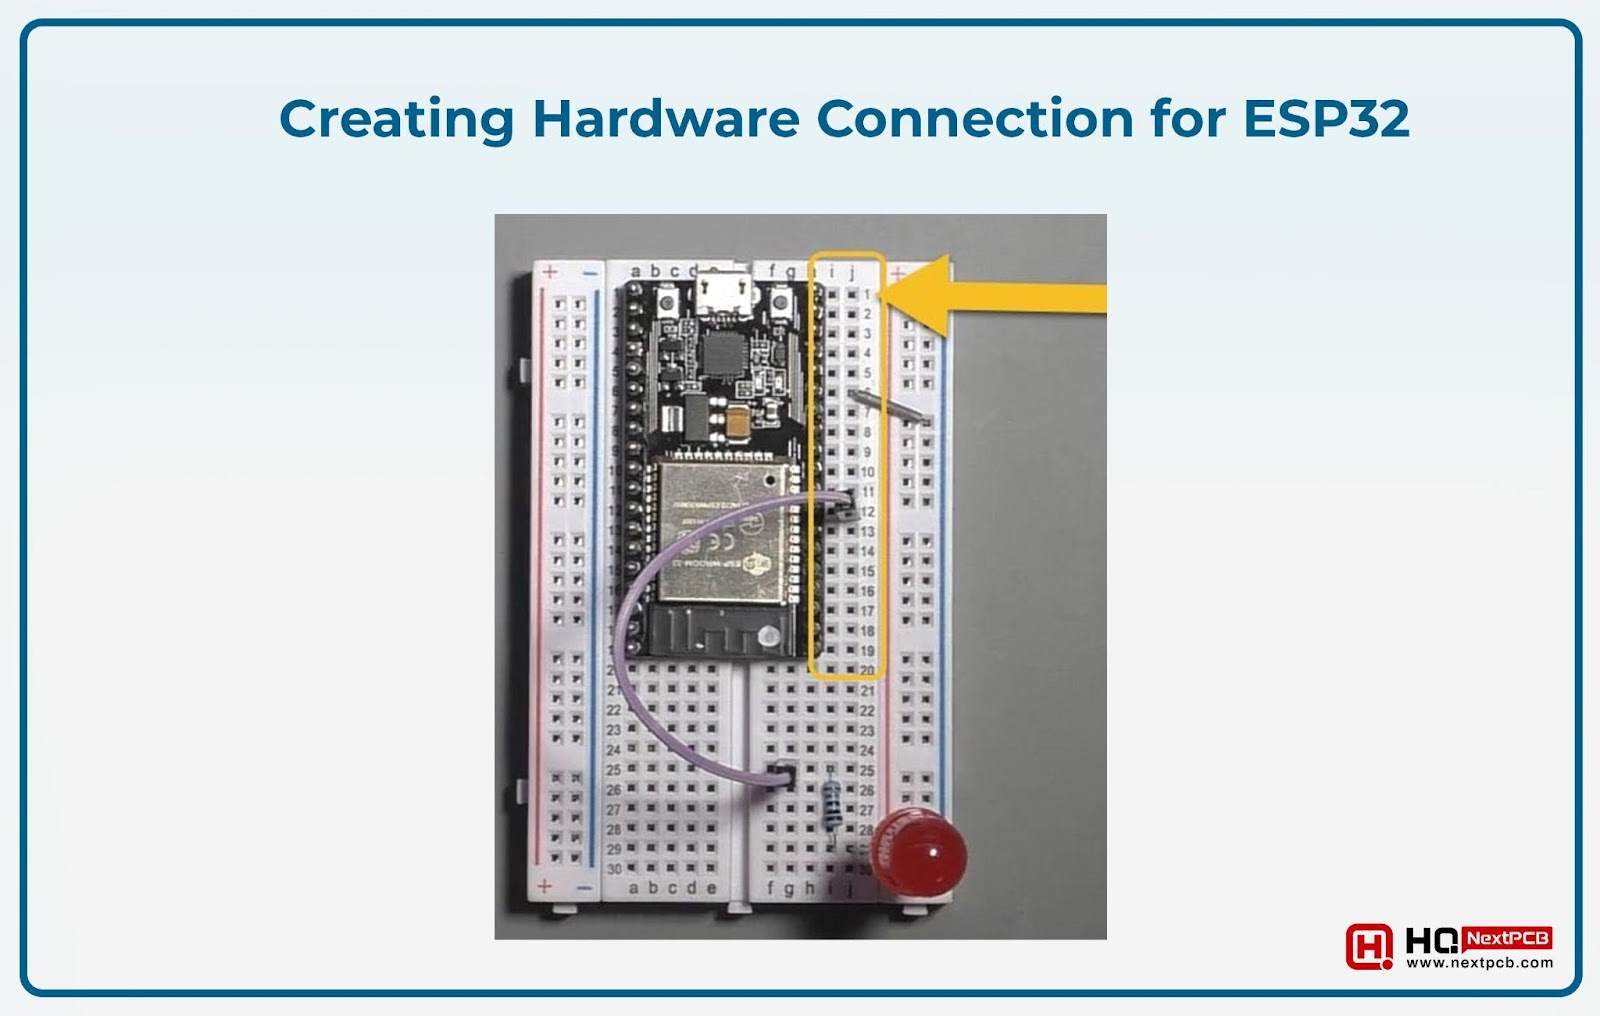
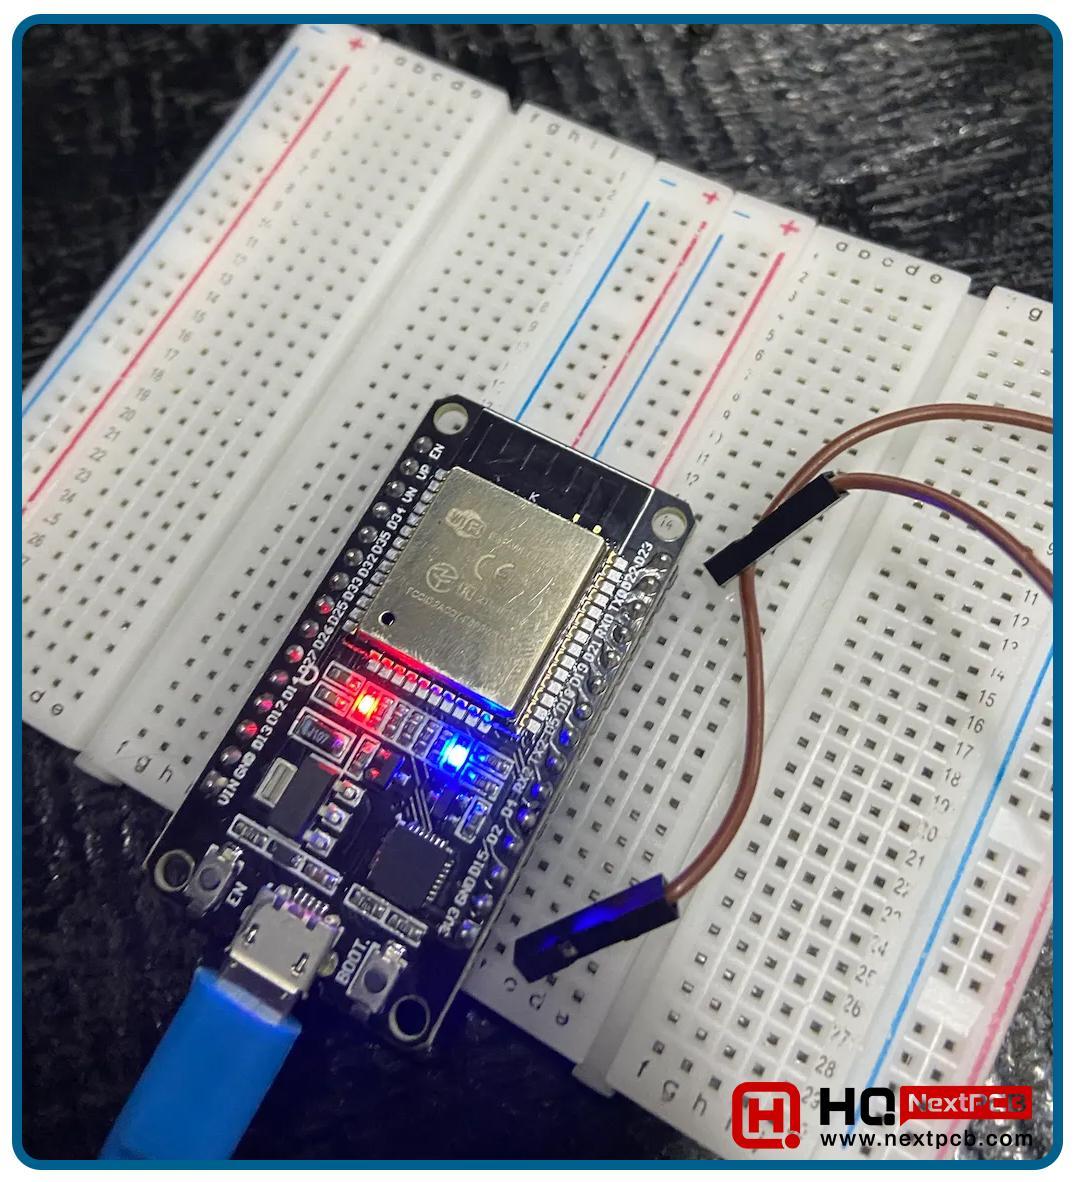
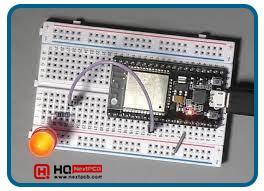
Here is a little description of the project that will help you understand the steps we will perform in the next section:
As you can see, the ESP32 is connected in such a way that the USB cable can be connected easily to it.
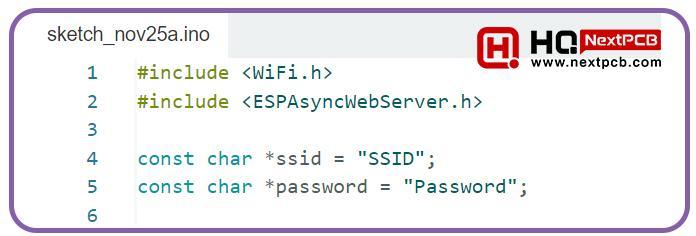
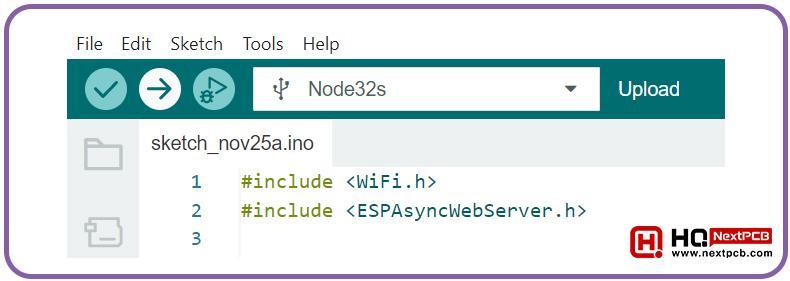
#include
#include
const char *ssid = "SSID";
const char *password = "Password";
const int builtInLedPin = 2; // Assigning pin for built-in LED
const int externalLedPin = 4; // Assigning pin for external LED
AsyncWebServer server(80);
void setup() {
Serial.begin(115200);
// Connect to WiFi
WiFi.begin(ssid, password);
while (WiFi.status() != WL_CONNECTED) {
delay(1000);
Serial.println("Connecting to WiFi...");
}
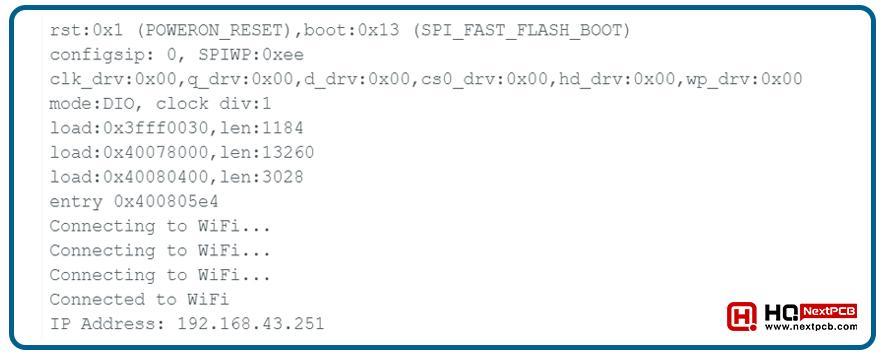
Serial.println(" Successfully Connected to WiFi");
Serial.print(" Your IP Address: ");
Serial.println(WiFi.localIP());
// Setting LED pins as outputs to use later
pinMode(builtInLedPin, OUTPUT);
pinMode(externalLedPin, OUTPUT);
// Defining routes and handling functions
server.on("/", HTTP_GET, [](AsyncWebServerRequest *request){
String html = ";
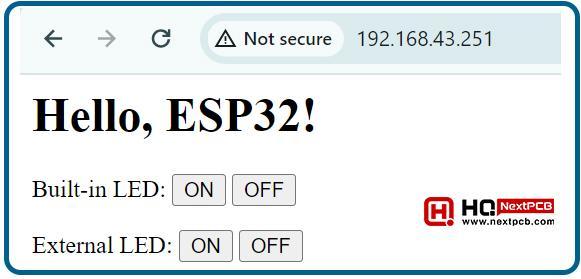
html += "Hello,ESP32!";
html += "HelloBuilt-in LED:"NO" "OFF"";
html += "External LED:"NO" "OFF"";
html += "";
request->send(200, "text/html", html);
});
//Turning the built-in LED on
server.on("/builtinLed/on", HTTP_GET, [](AsyncWebServerRequest *request){
digitalWrite(builtInLedPin, HIGH);
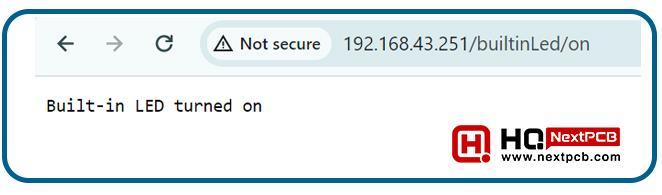
request->send(200, "text/plain", "Built-in LED turned on");
});
// Turning the built-in LED off
server.on("/builtinLed/off", HTTP_GET, [](AsyncWebServerRequest *request){
digitalWrite(builtInLedPin, LOW);
request->send(200, "text/plain", "Built-in LED turned off");
});
//Turning the external LED on
server.on("/externalLed/on", HTTP_GET, [](AsyncWebServerRequest *request){
digitalWrite(externalLedPin, HIGH);
request->send(200, "text/plain", "External LED turned on");
});
// Turning the built-in LED off
server.on("/externalLed/off", HTTP_GET, [](AsyncWebServerRequest *request){
digitalWrite(externalLedPin, LOW);
request->send(200, "text/plain", "Externally connected LED turned off");
});
// Start server to perform the task
server.begin();
}
void loop() {
//Write any looping content if required
}
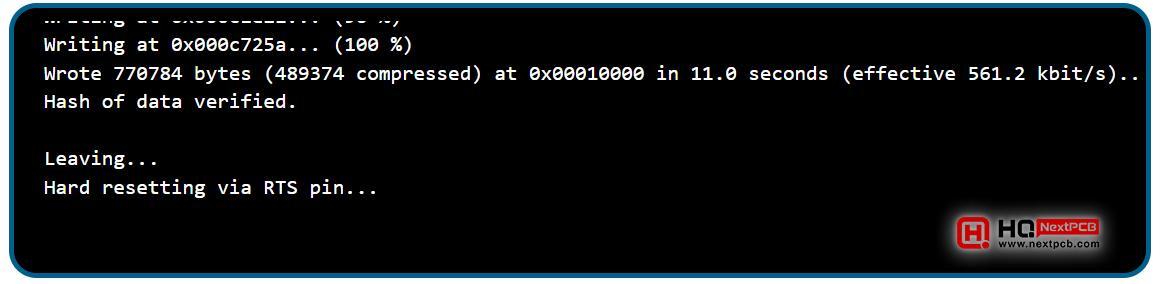
Now, let us move towards practically implementing all the information we have been discussing in this tutorial. Follow the steps given next to get the perfect output:
The address pasted on the browser is important here because every time the user wants a change on the web page, he/she has to paste the right address on the browser. The only difference between these is the status of the light on the address.
Hence, in this way, we have used the ESP32 as a server and then controlled the LEDs through it. In this tutorial, we have seen the basic introduction of ESP32 as a server. We understood why it was the best microcontroller for this project. We saw its features and settings to be used as the server. After that, we moved on to the step-by-step experiment, where we implemented the code in the Arduino IDE to use the ESP32 as a server. We created the software and hardware part and in the end, we learned the functionalities. This is the basic code and hardware part and you can extend it once you understand the workings of the system. For instance, the control of more than one LED is possible and users can attach the sensors to the ESP32 to get information through the network. In this way, the information from one device may become the input of the other device and all together, the network can work successfully. There may be changes in the code such as the HTML part having to be edited and some additional libraries being required for the work. I hope your project is completed well but if you have any questions, you can ask in the comment section.
- ESP32 BLE(Bluetooth Low Energy) Control in Arduino IDE
- Home Automation System Using ESP32
- Free Worldwide Shipping on Over 600,000 Electronics Components with HQ Online
- Free PCB Assembly Offer is Now Live: Experience Reliable PCB Assembly from HQ NextPCB
- HQ NextPCB Introduces New PCB Gerber Viewer: HQDFM Online Lite Edition
Still, need help? Contact Us: support@nextpcb.com
Need a PCB or PCBA quote? Quote now
|
Dimensions: (mm) |
|
|
Quantity: (pcs) |
|
|
Layers: |
Thickness: |
|
|
|